 NotchPad
 Guides
Getting started with NotchPad on Mac
Install NotchPad, try the Welcome folder, and learn when to use the desktop workspace, notch widget, and Projects.
Install and open NotchPad
- Download NotchPad on an Apple silicon Mac running macOS 15 or later. Open the disk image and drag NotchPad into Applications.
- Open NotchPad and start in the workspace. Open Welcome and try the checklist and table in Start Here.
- Start the 14-day trial when you’re ready to create notes and projects. The Welcome guide lets you try the editor first.
Choose where to work
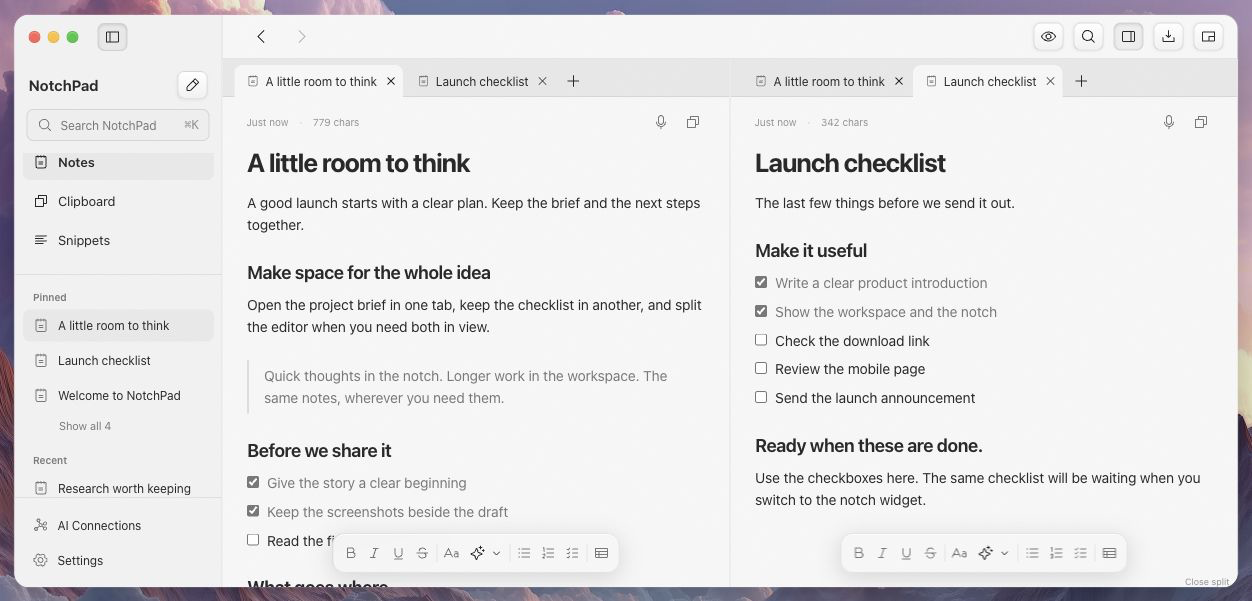
Use the workspace for tabs, split editing, Projects, and Skills. Use the notch widget for a quick note, clipboard search, or snippet. Both show the same notes library. Double-tap Control to open or hide the widget. Macs without a notch can open it from the top center of the screen.
Press ⌘K in either view to find notes, settings, and actions. Press Esc to dismiss the command palette. Use the NotchPad menu bar icon to return to the workspace.
Save your first useful note
Press ⌘N, write a short brief, and add a checklist with the formatting toolbar. Pin it from the note menu. When you want to keep it beside a particular window or browser page, choose Show Sticky In… from that same menu.
If you close or delete the built-in guides, use Settings → Welcome Folder to open the Welcome folder again. For a specific task, browse the online guides below.