 NotchPad
 Guides
Create a project and add sources
Set up a NotchPad project with Markdown files, existing notes, agent conversations, people, and useful links.
Start with the project you’re working on
- In the desktop workspace, open Projects and click New Project. Give it a name you’ll recognize in an agent chat.
- In Overview, add a short summary, relevant people, and links to the work. A person can have more than one link. Use the edit action to rename the project later.
- Use Add Source to include a NotchPad note or link a Markdown folder. Use Connect an Agent to bring in a Codex or Claude Code chat.
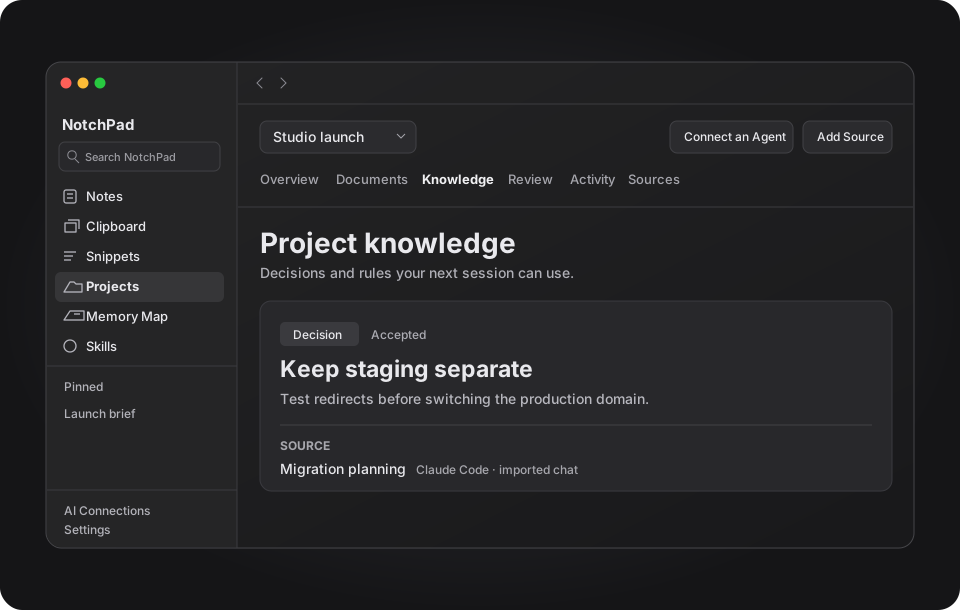
Keep originals where they belong
Linked Markdown stays in the folder you chose. Open a file from Documents to read it in Preview or edit it in Source. Linked notes remain in your Notes library. Imported chats are read-only snapshots. They can follow selected conversations while NotchPad is running if you enable updates.
Disconnecting a folder from Sources removes the link to the folder while leaving the original files in Finder. If you restore a backup on another Mac, select the folder again to restore access.
Find the right place for each kind of work
- Documents holds notes, files, and chat transcripts you can read or cite.
- Knowledge holds decisions, rules, questions, and other records worth retrieving later.
- Review is where you check agent proposals before they become accepted knowledge.
- Activity and Sources help you check changes and manage what is linked.
To let an AI app use the project, open its Projects and Sources permissions in AI Connections and choose what to share.